- International
- Argentina
- Australia
- Austria
- Belgium
- Brazil
- Canada
- China
- Czaech Republic
- Denmark
- Finland
- France
- Germany
- Hong Kong
- Hungary
- India
- Ireland
- Italy
- Japan
- Mexico
- Netherlands
- Norway
- Philippines
- Poland
- Portugal
- Republic of Korea
- Romania
- Russian Federation
- Singapore
- Slovenia
- South Africa
- Spain
- Sweden
- Thailand
- Turkey
- UAE
- United Kingdom
- United States
Validation: Putting Our Own Products to the Ultimate Test

With its myriad testing stations and unique pieces of equipment, one of the most fascinating places inside our Milwaukee headquarters is the Validation Lab.
While much of what happens in Validation stays in Validation (to protect our processes), we want to give you a glimpse inside. It will help you understand just how far we’re willing to go to ensure our products are the best you can get.
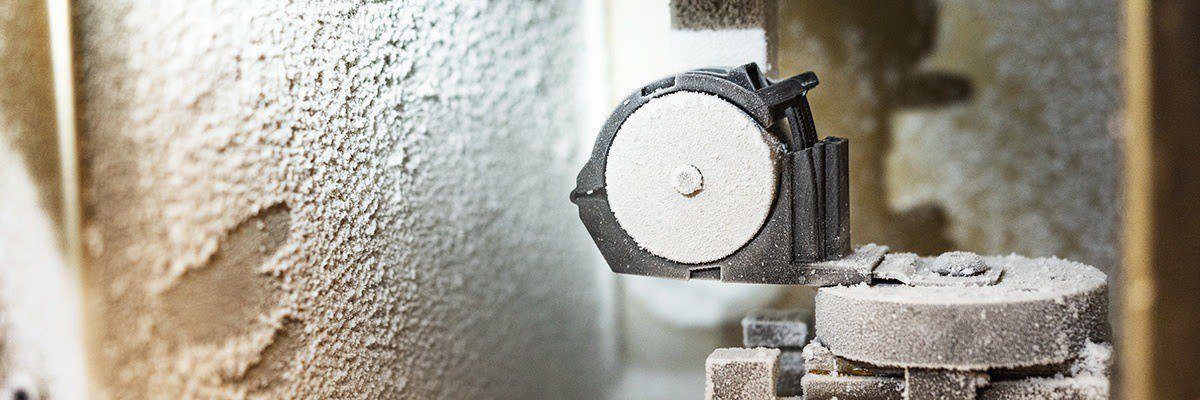
We love to break things
The industry provides us with testing standards, such as tensile strength. Every manufacturer must adhere to them in order to provide customers with a more or less universal degree of confidence that all similar parts on the market have at least passed the same test.
And yet, if we’re testing HellermannTyton products, we apply ridiculous forces and temperatures.
Our reputation requires going beyond the standards. For example, one standard requires a part to be exposed to a certain amount of heat, then allowed to cool before testing tensile strength. We complete that test. But then, we test tensile strength while under high temperatures – simultaneously – because that is more akin to the real-world state under which certain products will need to perform.
Then, we turn up the temperature. And increase the physical forces acting against the test parts. Until they break, and we have data we can use to determine whether it’s necessary to change a material or a design, or where a part could be modified.
You see it too, right?
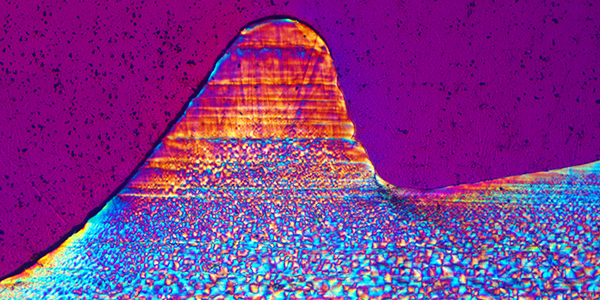
What would you see if you sliced a plastic part so thin you could see through it? With the naked eye, not much. Using cross-polarized light microscopy, we can detect non-homogeneous melt (poor mixing of the material), molded-in stress and stress due to loading.
 A part with molded-in stress is more likely to fail before an identical looking part with little or no molded-in stress. So, we analyze parts in the Validation Lab.
This image is a close-up view of a single cable tie serration. The tip of this shark-fin-shaped serration indicates the material in that area is more amorphous than the rest of the sample, as evidenced by the smoother gradient of color. The bottom region shows spherulites, which are the individual crystalline structures of PA66. The varying colors indicate different orientations of the crystalline structures.
If there were stresses, we’d see them. In fact, we can analyze a sample that shows the serration engaged with the pawl and see the stress created there. Cool stuff!
As we continue to push the limits of our products, we move further forward in quality and performance. The minimum required standards may be enough for some, but they’re just the beginning for us.
HellermannTyton helps write USCAR standard
The United States Council for Automotive Research is an organization that champions collaboration between multiple automakers to advance technology and support the needs of society and the environment.
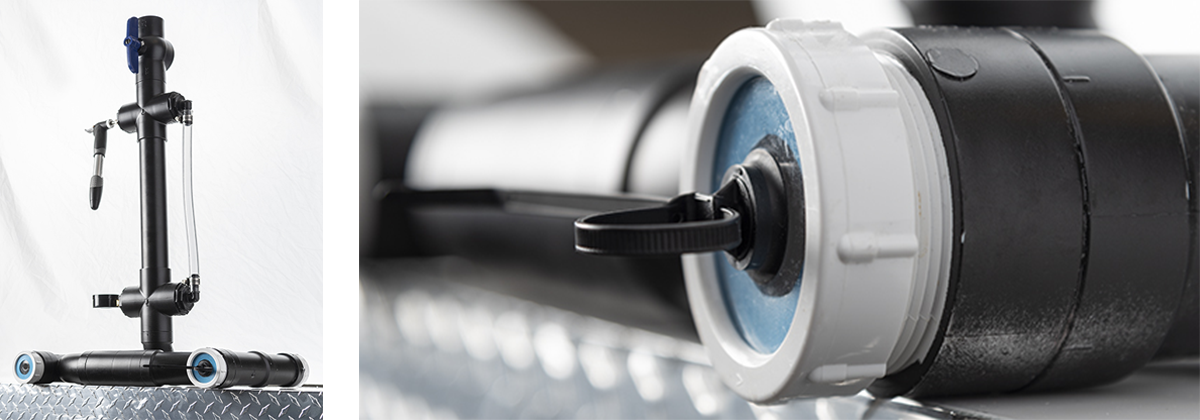
HellermannTyton engineers were privileged to be part of the team that created a new industry standard for testing certain automotive fasteners – USCAR-44 (or, the Performance Specification for Automotive Wire Harness Retainer Clips). After determining the scope of the standard, we came up with a way to validate compliance. Our team designed a prototype water spray rig to test water seals on a part that’s pulled in three directions. This led to the final design you see here, which provides the benchmark all manufacturers must now achieve with similar harness clips.

