- International
- Argentina
- Australia
- Austria
- Belgium
- Brazil
- Canada
- China
- Czaech Republic
- Denmark
- Finland
- France
- Germany
- Hong Kong
- Hungary
- India
- Ireland
- Italy
- Japan
- Mexico
- Netherlands
- Norway
- Philippines
- Poland
- Portugal
- Republic of Korea
- Romania
- Russian Federation
- Singapore
- Slovenia
- South Africa
- Spain
- Sweden
- Thailand
- Turkey
- UAE
- United Kingdom
- United States
Product Development: Inside the HellermannTyton Measurement Center

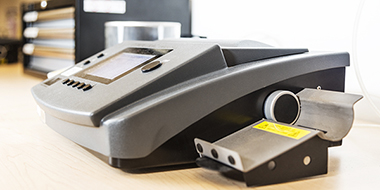
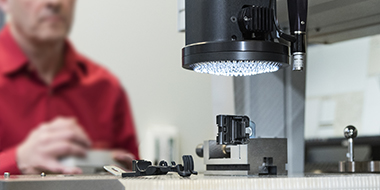
Manufacturers have long understood the relationship between perfect part dimensions and performance. Many measurement tools of yesteryear – calipers and various gauges – are still in use today. But perhaps the most important development to date is the coordinate measuring machine (CMM).
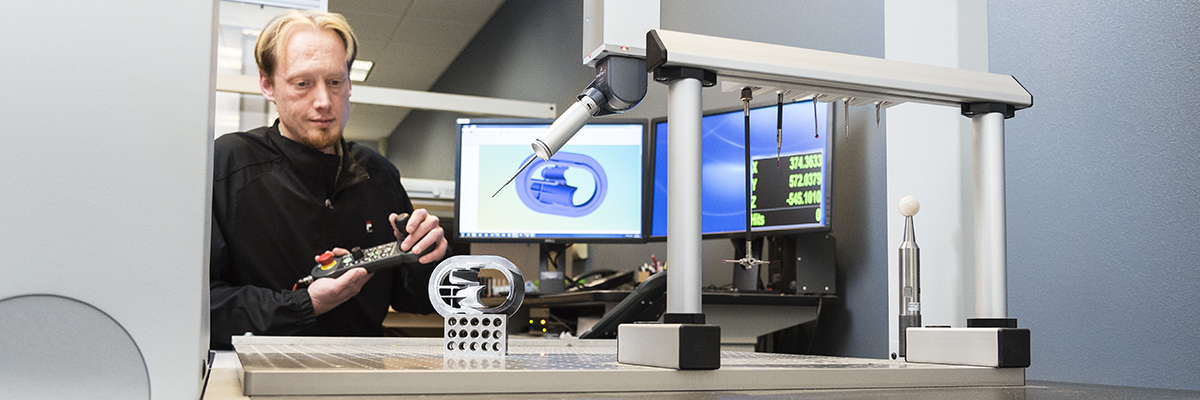
 Our CMM is among several precision measurement devices deployed in the environmentally controlled Measurement Center at HellermannTyton. It is the industry standard metrology package, running the world’s most popular and sophisticated metrology software, PC-DMIS CAD++.
While some of our products – cable ties, for example – may look like the ones available from anywhere else, validating them with precision measurement tools suggests significant differences. HellermannTyton insists on the most accurate 3D inspection technologies because that’s who we are. We don’t wait for you to ask for it; you partner with us because this is a regular part of our product development process.
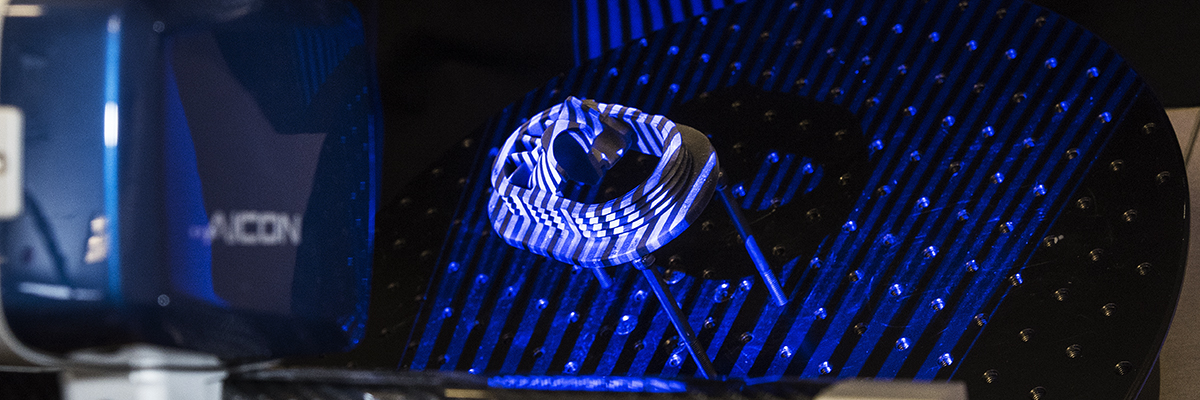
 A CMM scans parts, including those with complex geometries, for ultimate precision and manufacturing data. It rivals the capabilities of standard instruments. More than extremely accurate, our CMM offers us increased productivity to accelerate product development and quickly solve problems. Located just outside our production environment, the Measurement Center allows us to conveniently and rapidly process a part, ensuring it is within your tolerances and avoiding time-consuming rework.

We also use this technology to certify (and recertify) our tooling, compare parts to a CAD model and perform many other tests that ultimately contribute to quality assurance.
And that kind of confidence, whether the part is one of a million cable ties or an extremely complex assembly, is one way we look at product development. A good reason to trust HellermannTyton.
